
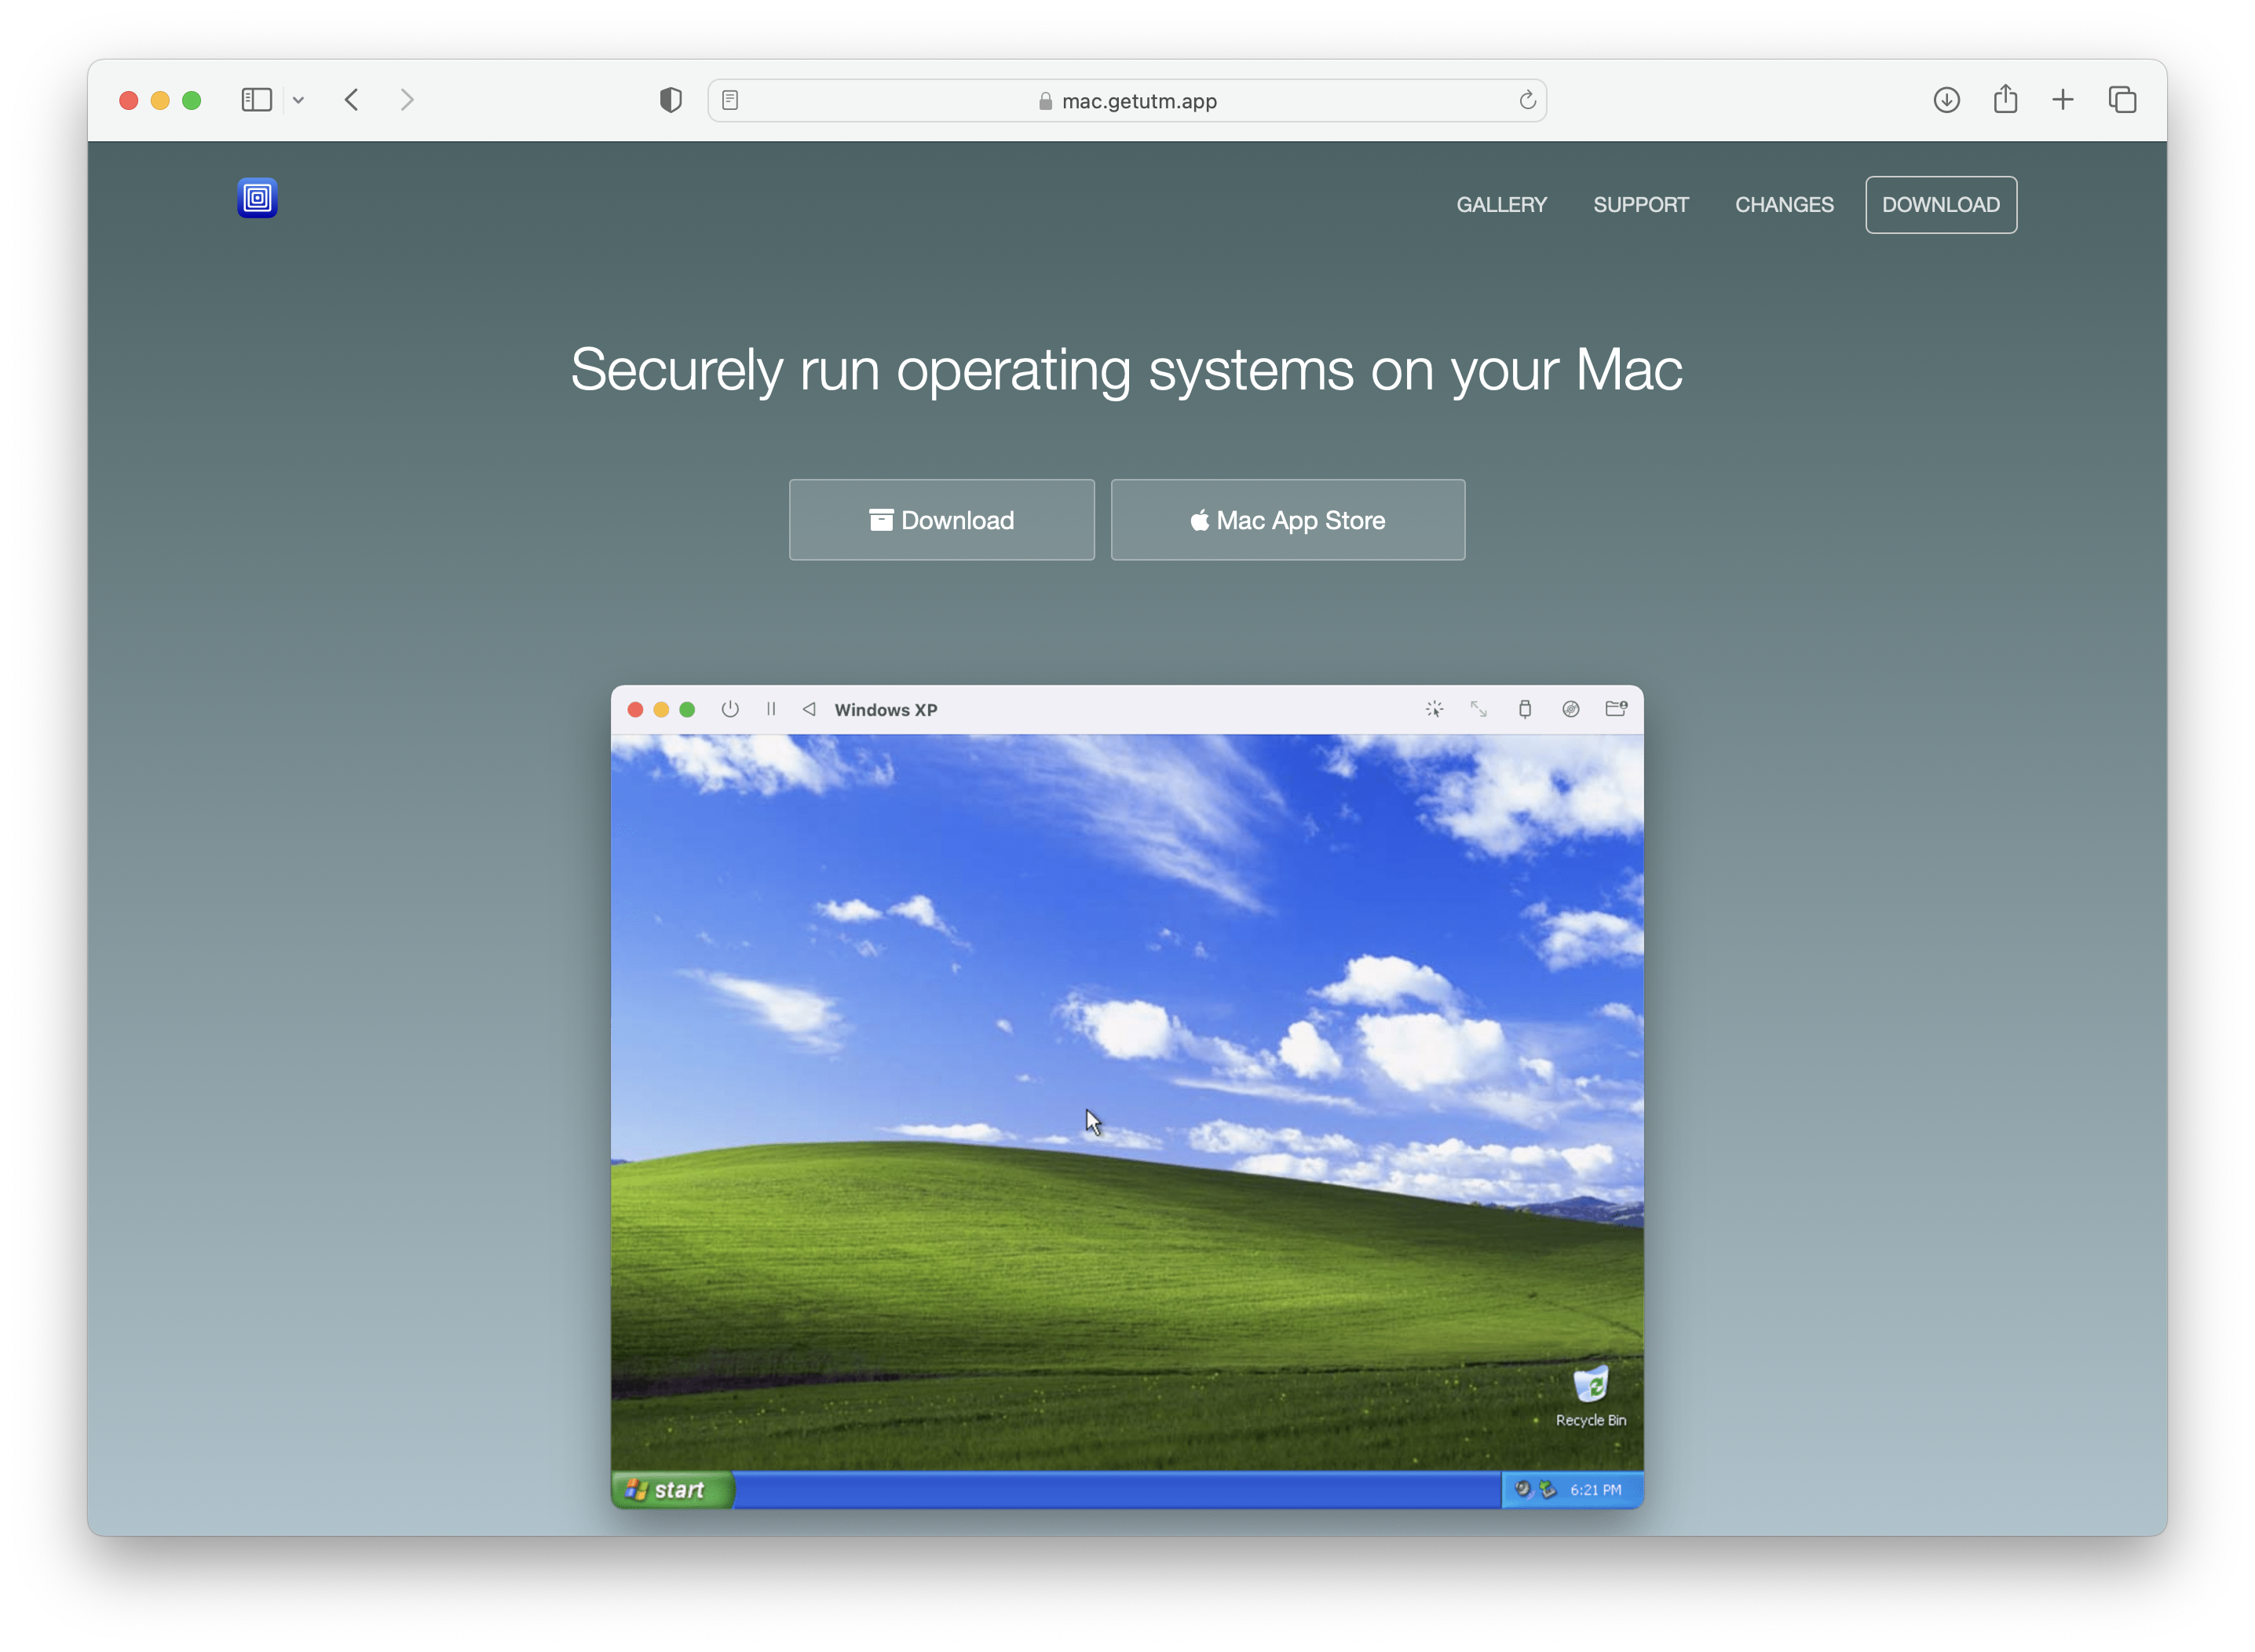
One topic that has been of interest for Mac Admins, developers, and enthusiasts alike when Apple released the first M1 Mac was how virtualization will be possible- especially with creating macOS guests. At the time of this writing, this is still asked of me from time to time. Below, I will detail how to do so for free with a great Hypervisor, UTM.
- Go to the project’s website, or, you may purchase it from the Mac App Store for $9.99 (please consider doing so to support this great undertaking).
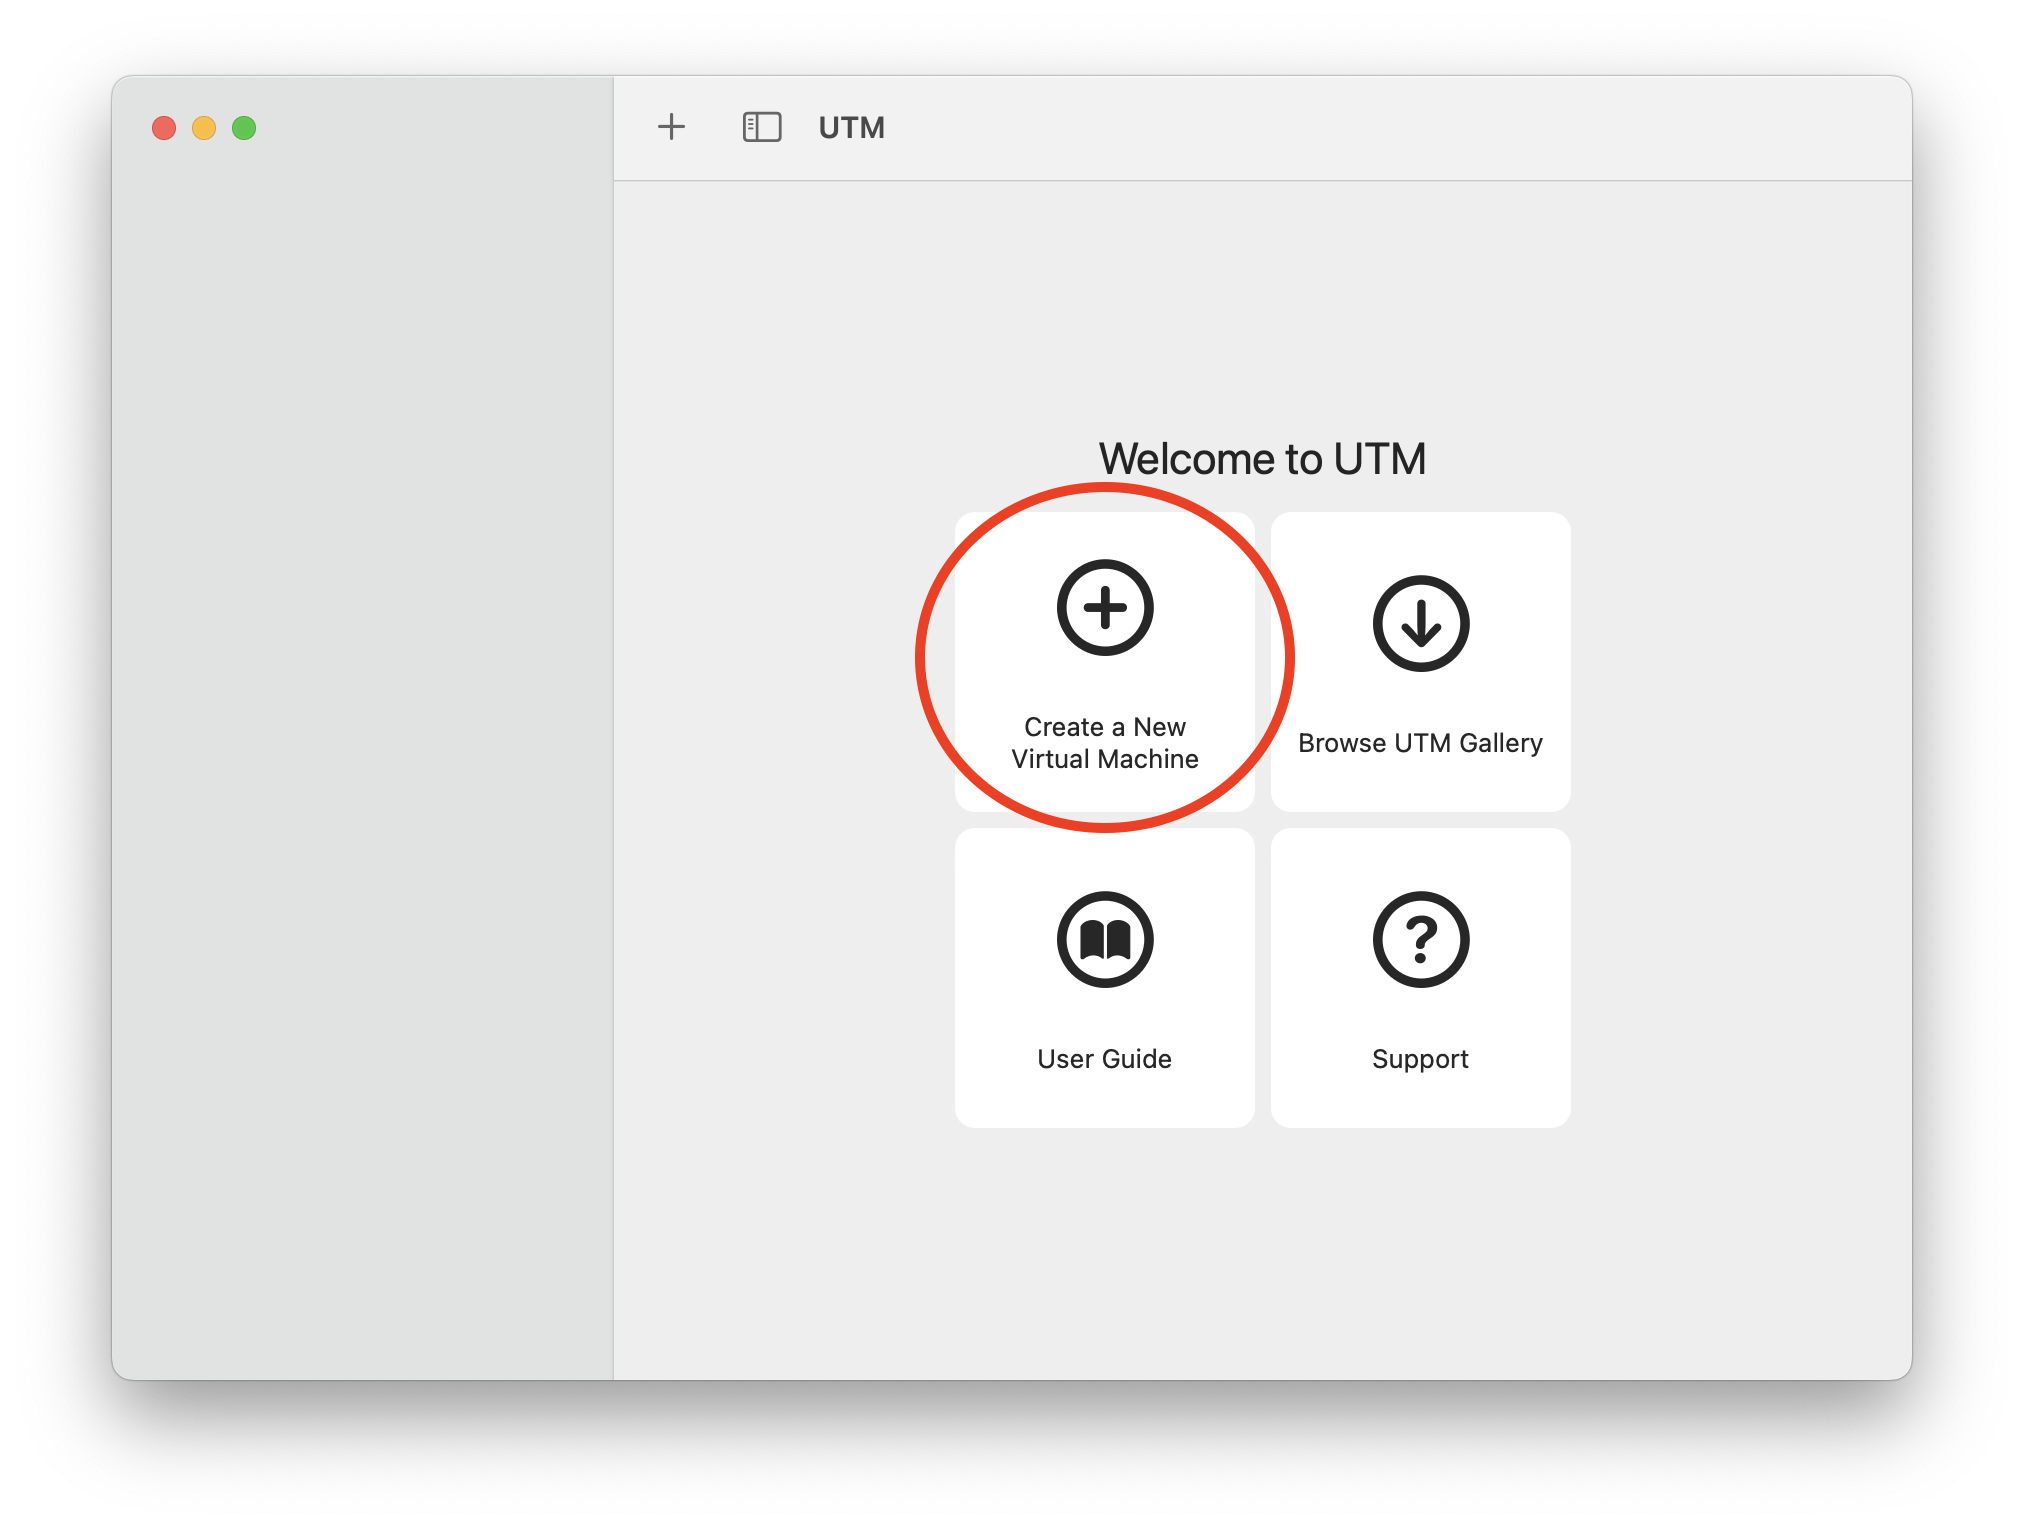
- Open UTM and click on Create a New Virtual Machine.
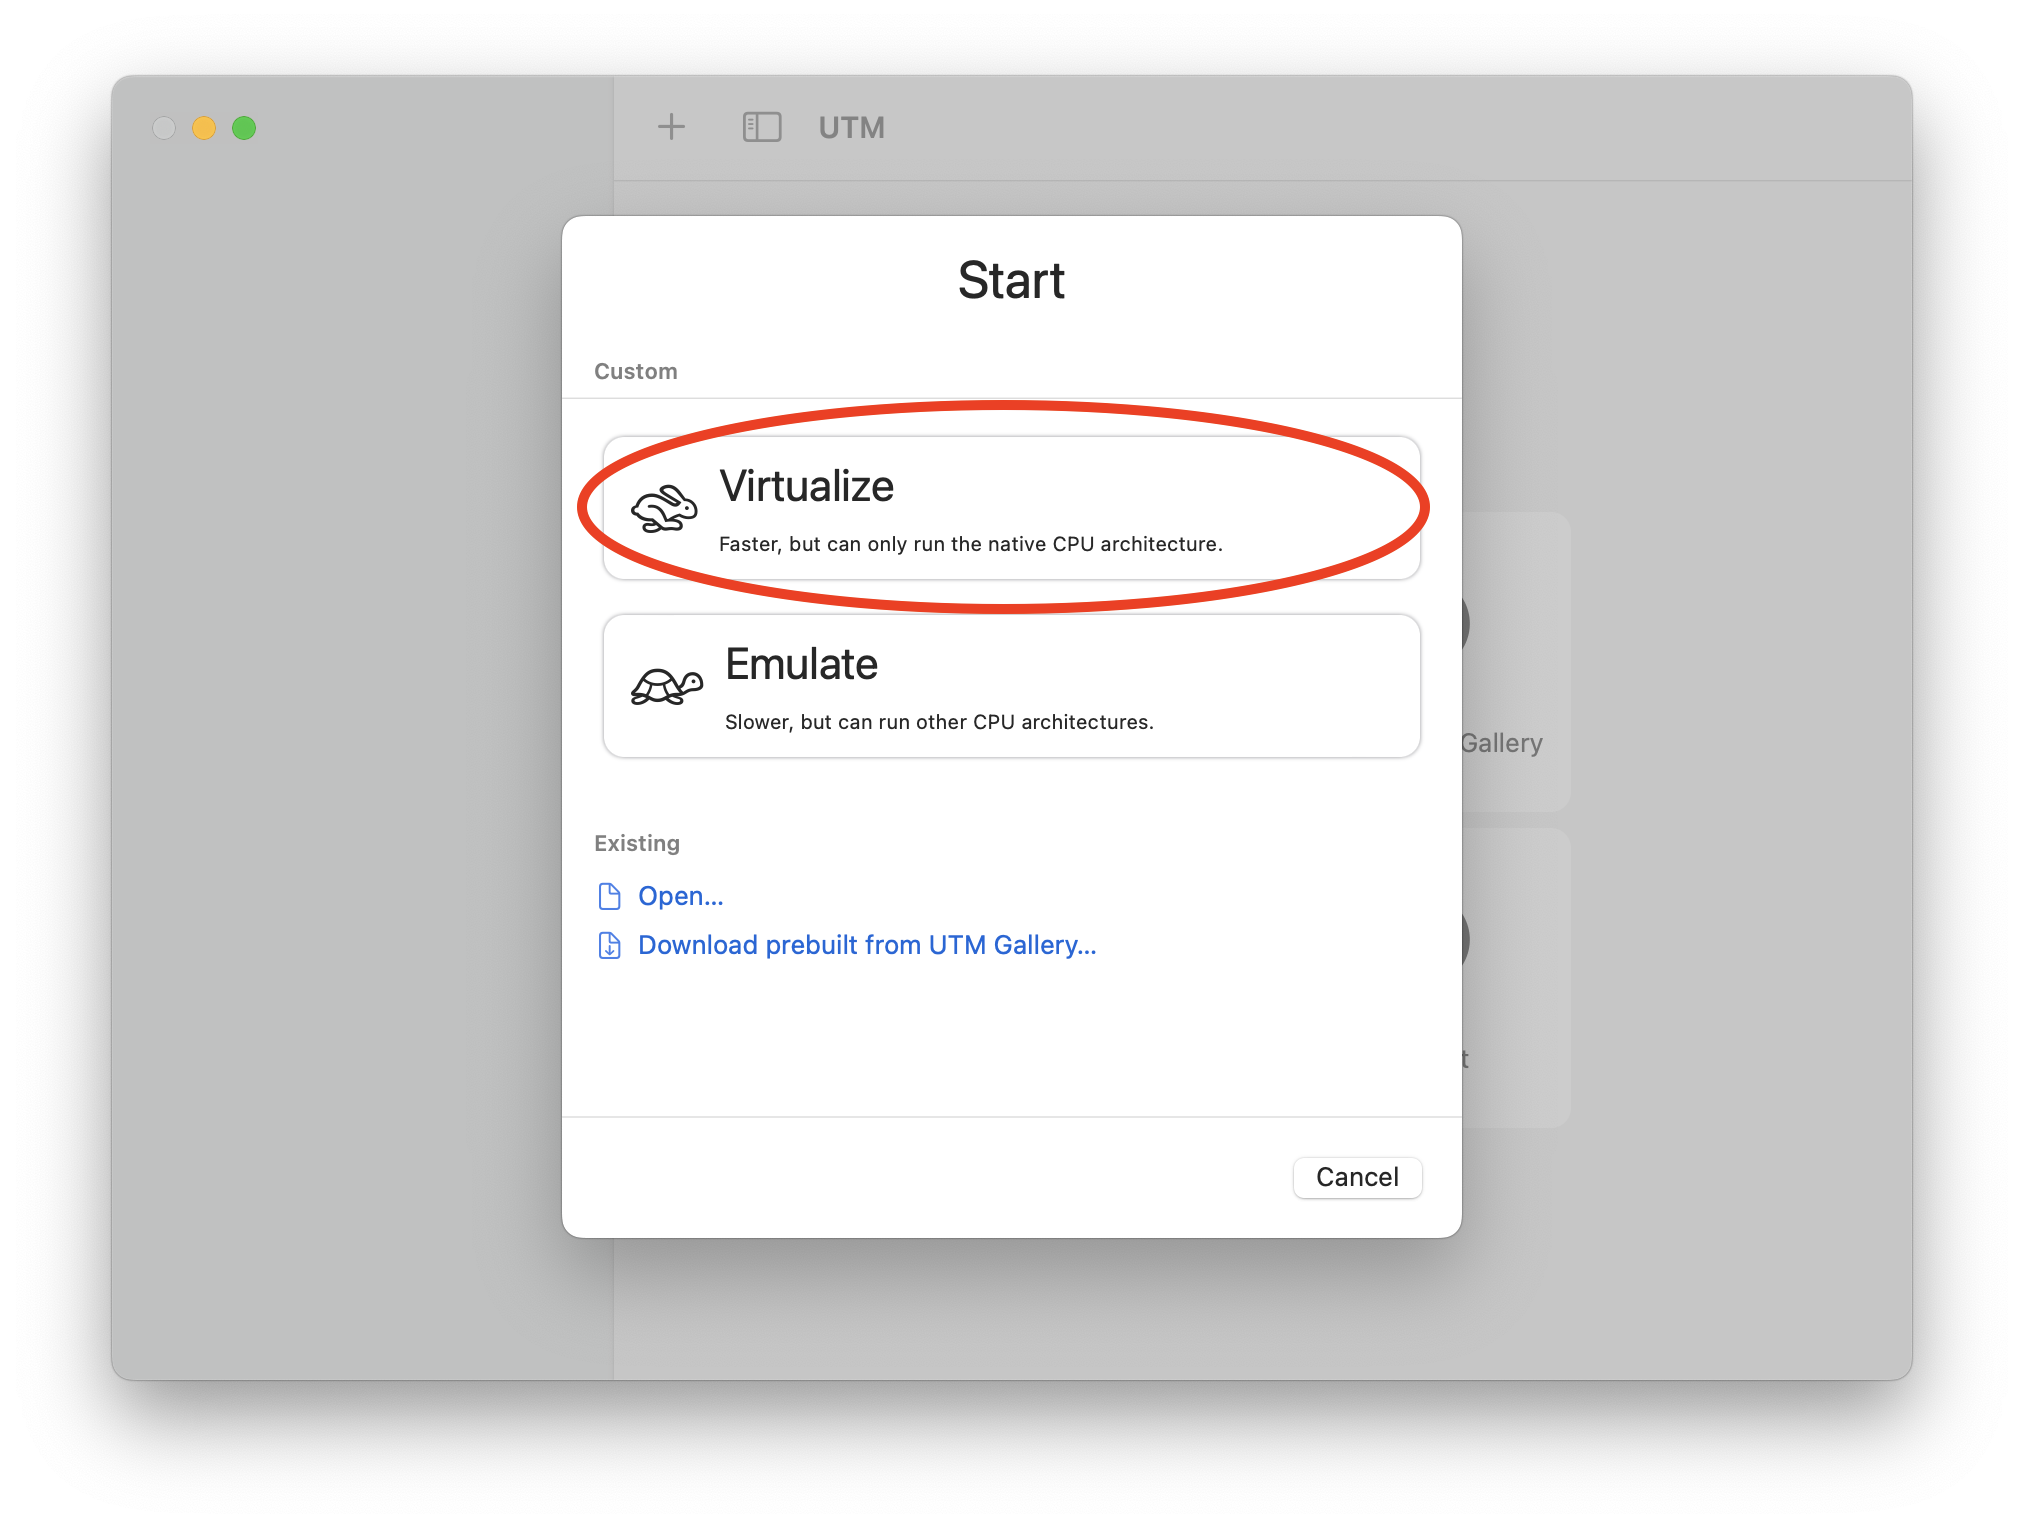
- Click on Virtualize.
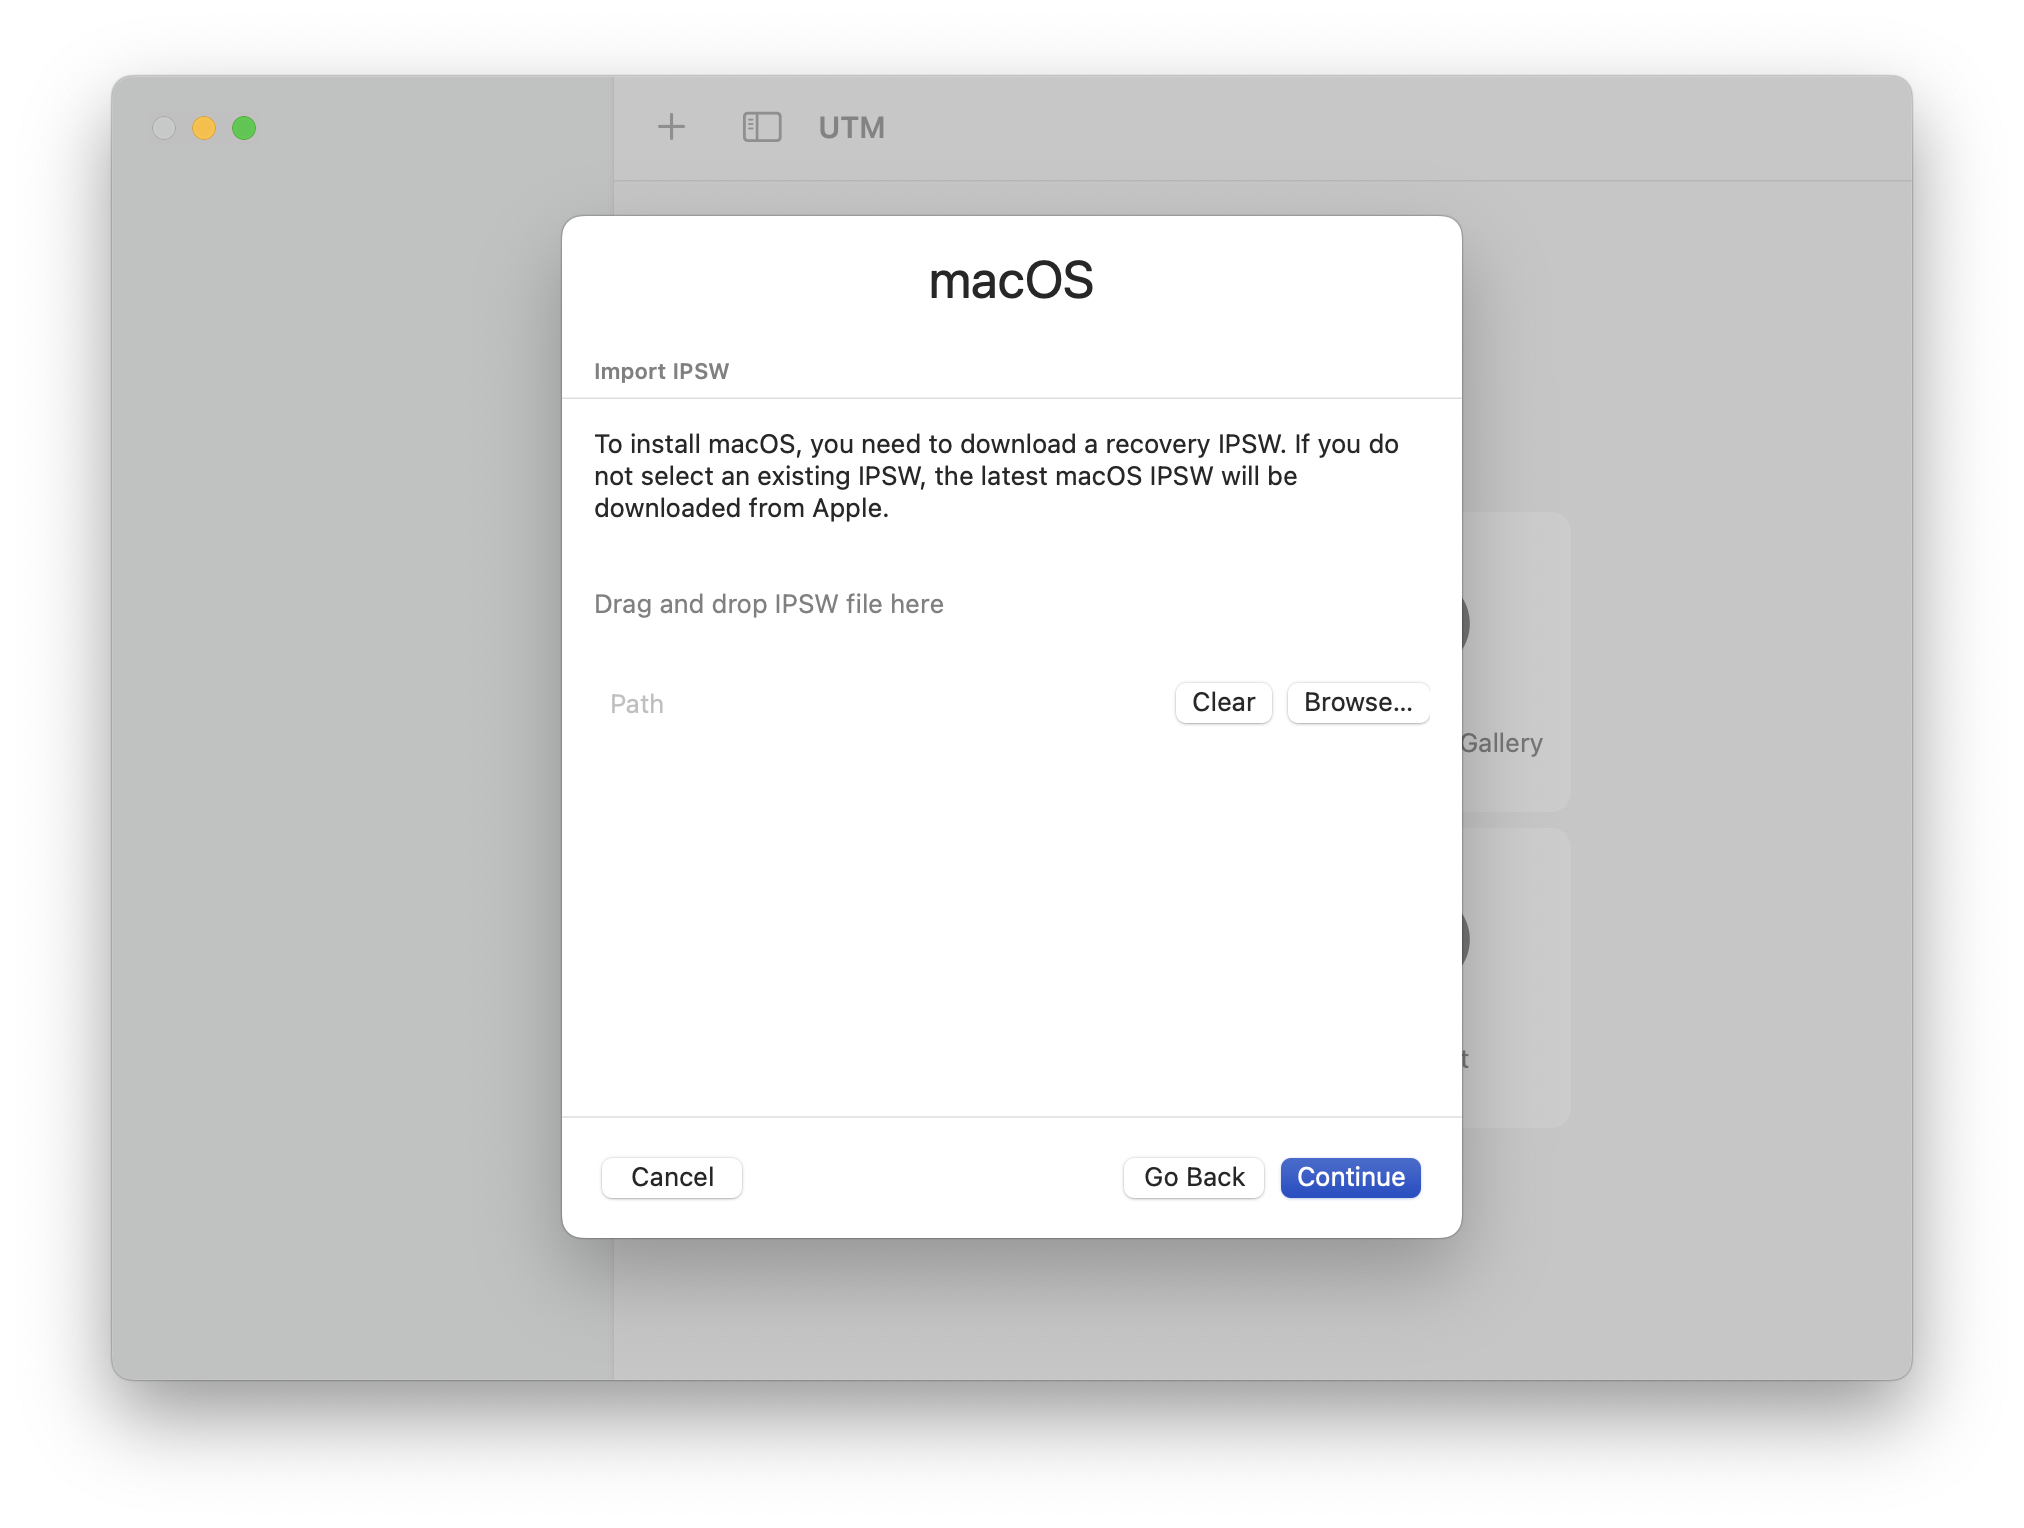
- Click on Continue if you wish to download the latest macOS version available from Apple’s servers to virtualize, or, Click on Browse… or drag and drop a particular IPSW that you may have saved locally that you wish to use.
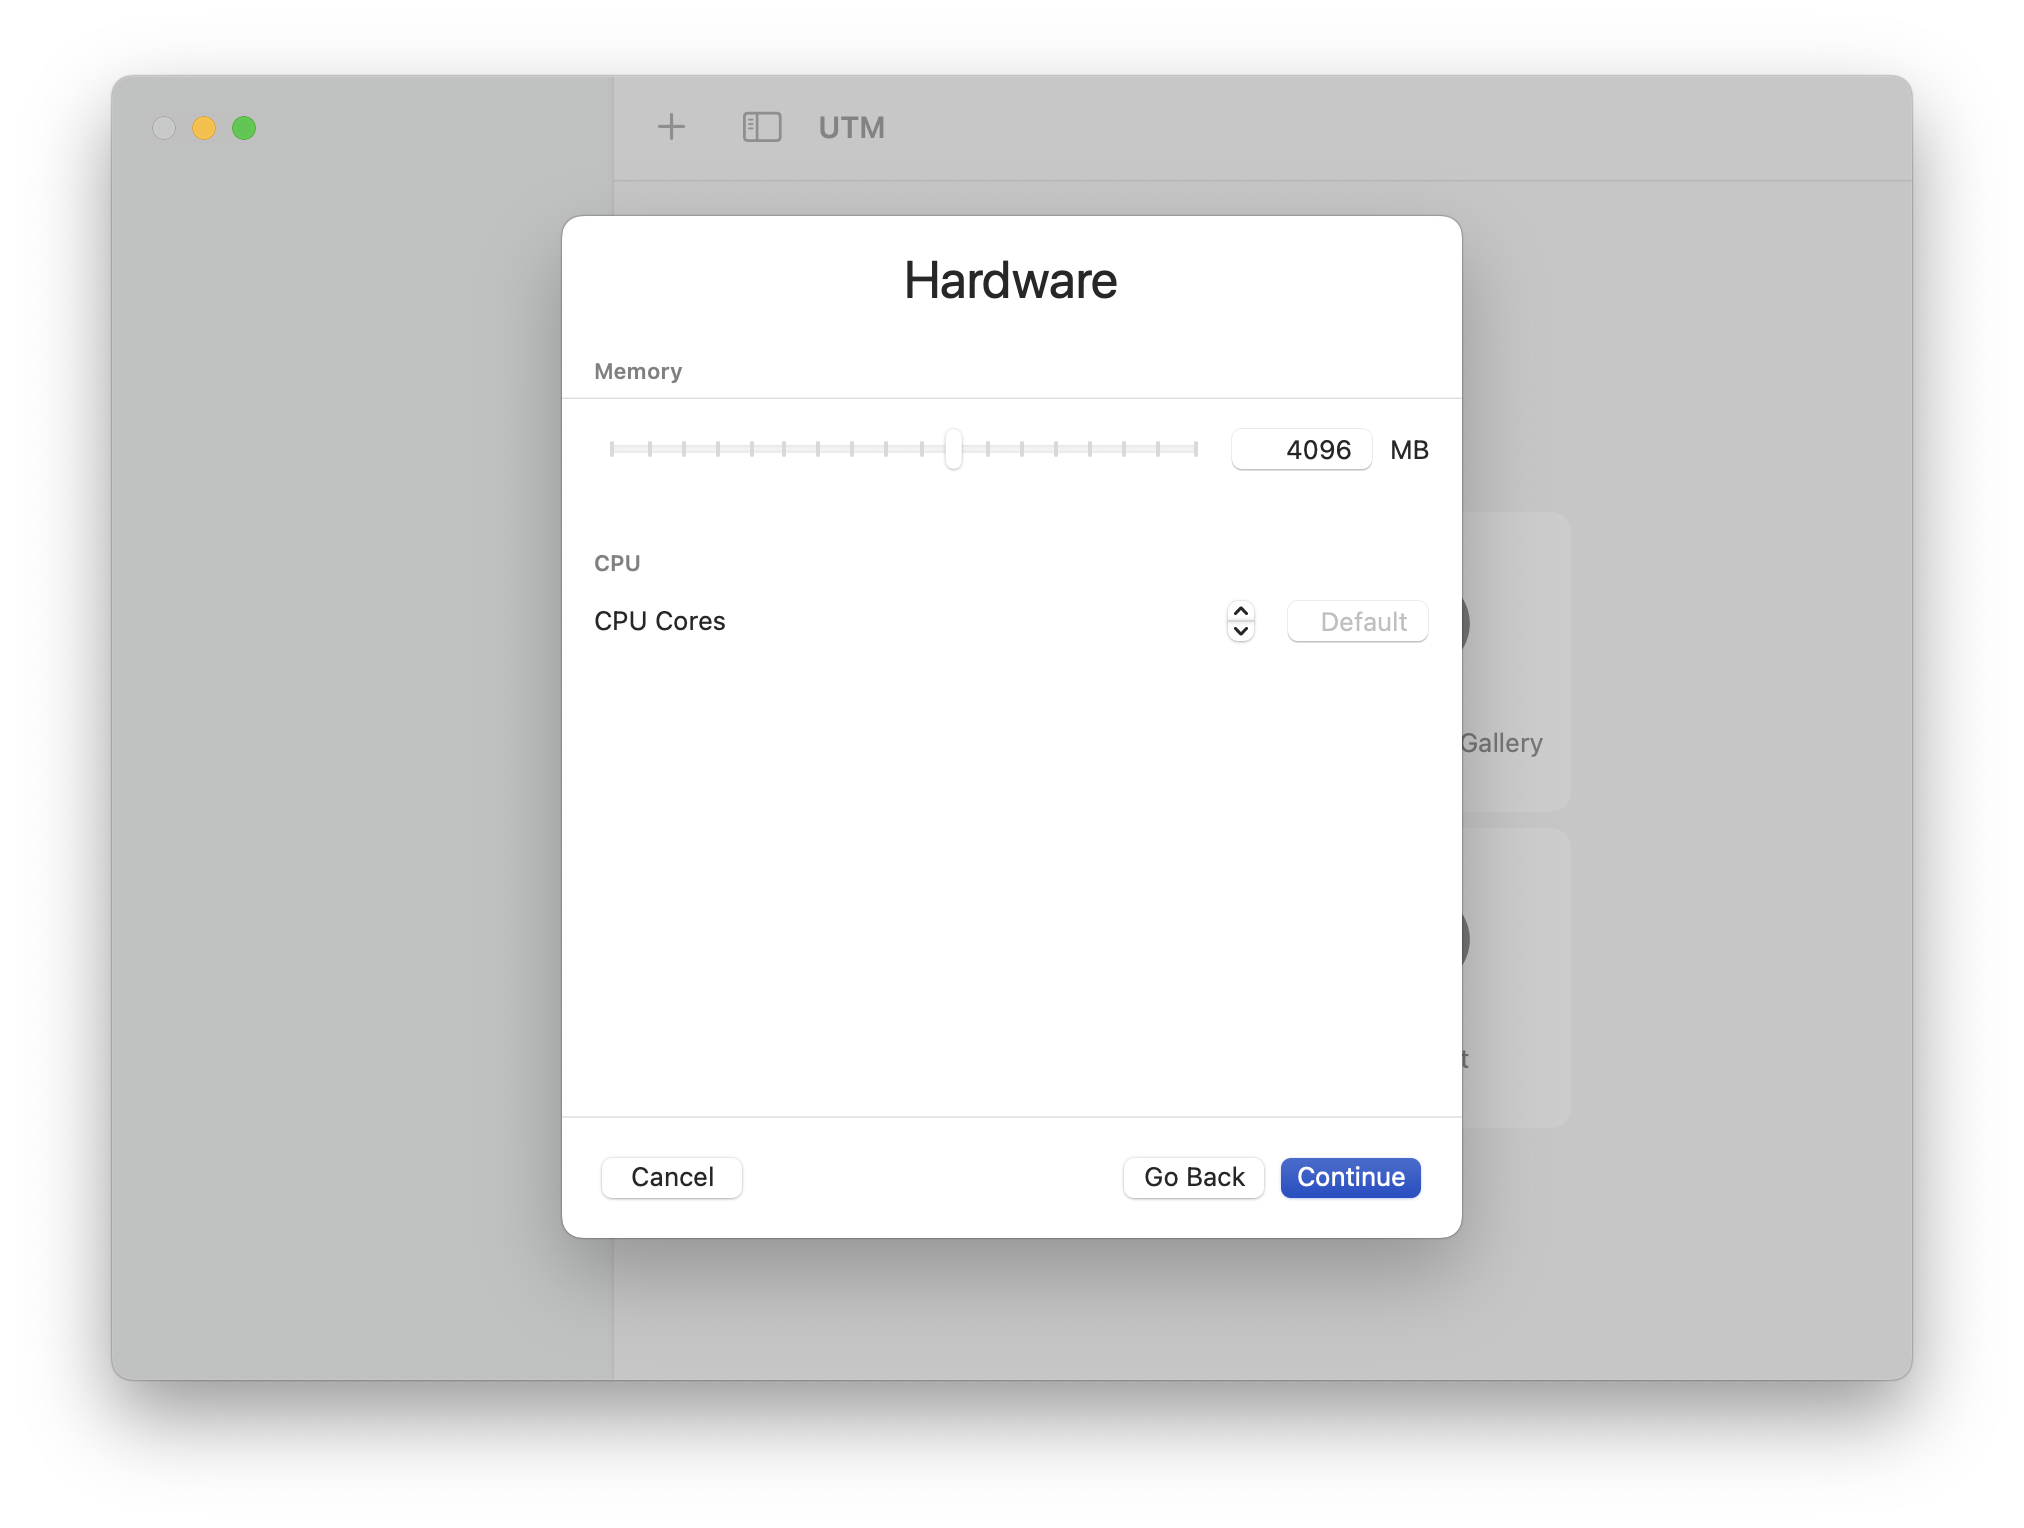
- Click Continue to keep the defaults for your virtual machine. You can manipulate the amount of RAM and virtual CPU cores if you want, but the defaults are fine for most intents and purposes.
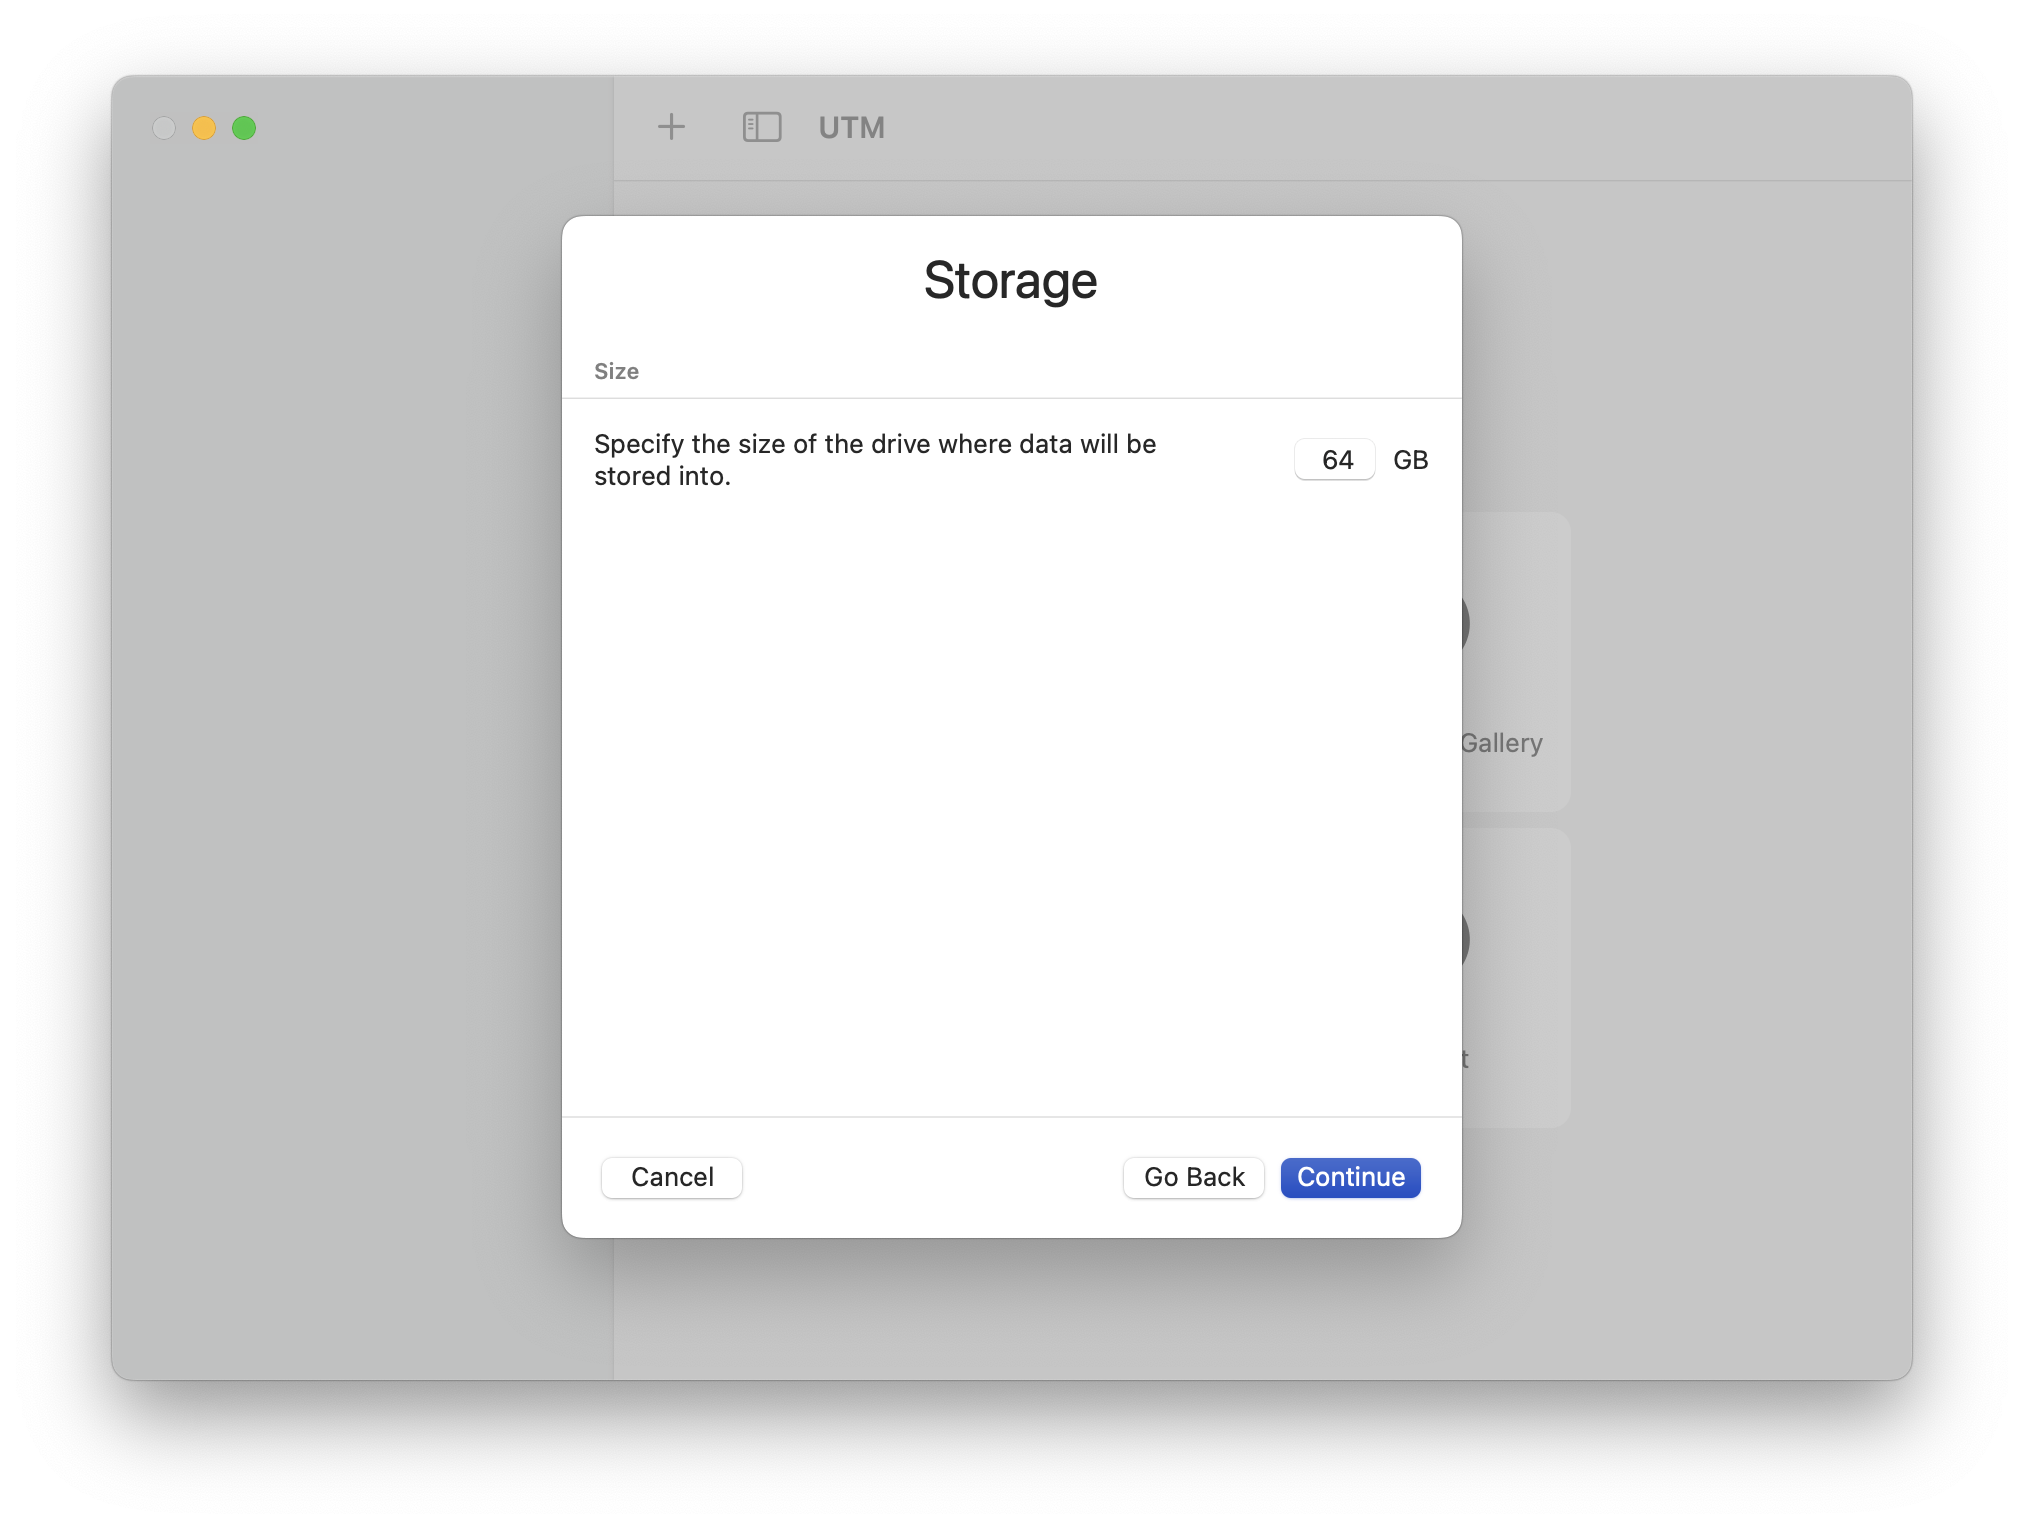
- Select the size of the boot drive and click Continue. The default of 64GB is the bare minimum, but fine for a decent amount of use cases. If you wish to store many files, however, you should consider increasing the storage size keeping in mind the amount of storage you have available on your Mac.
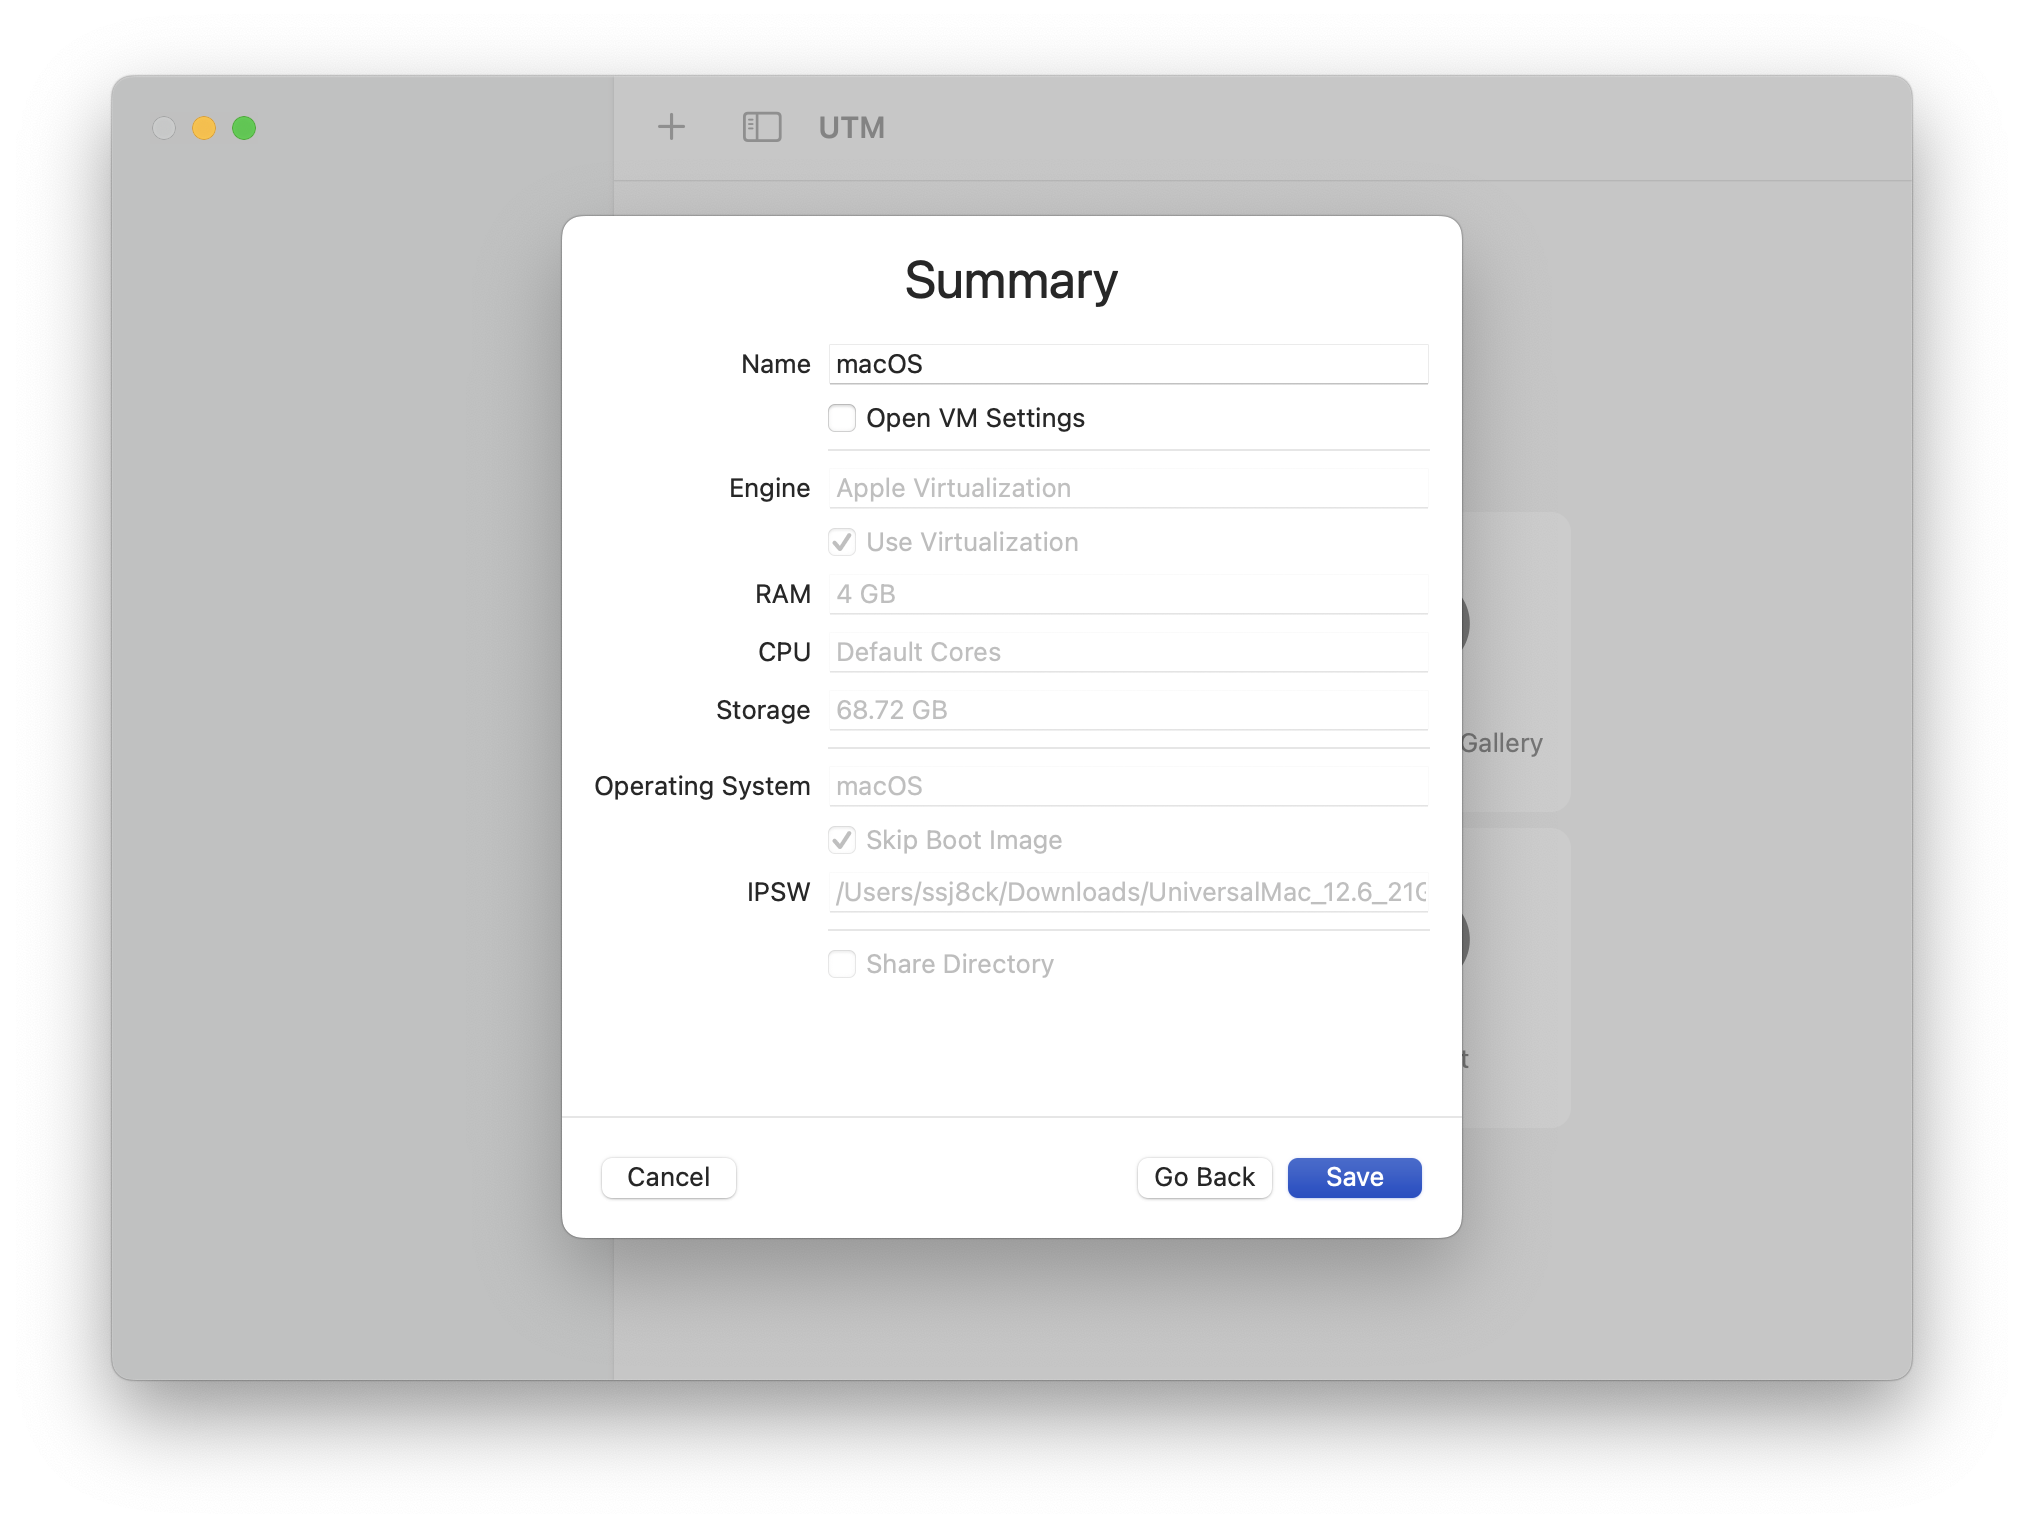
- Click Save after reviewing the summary of your new VM’s properties.
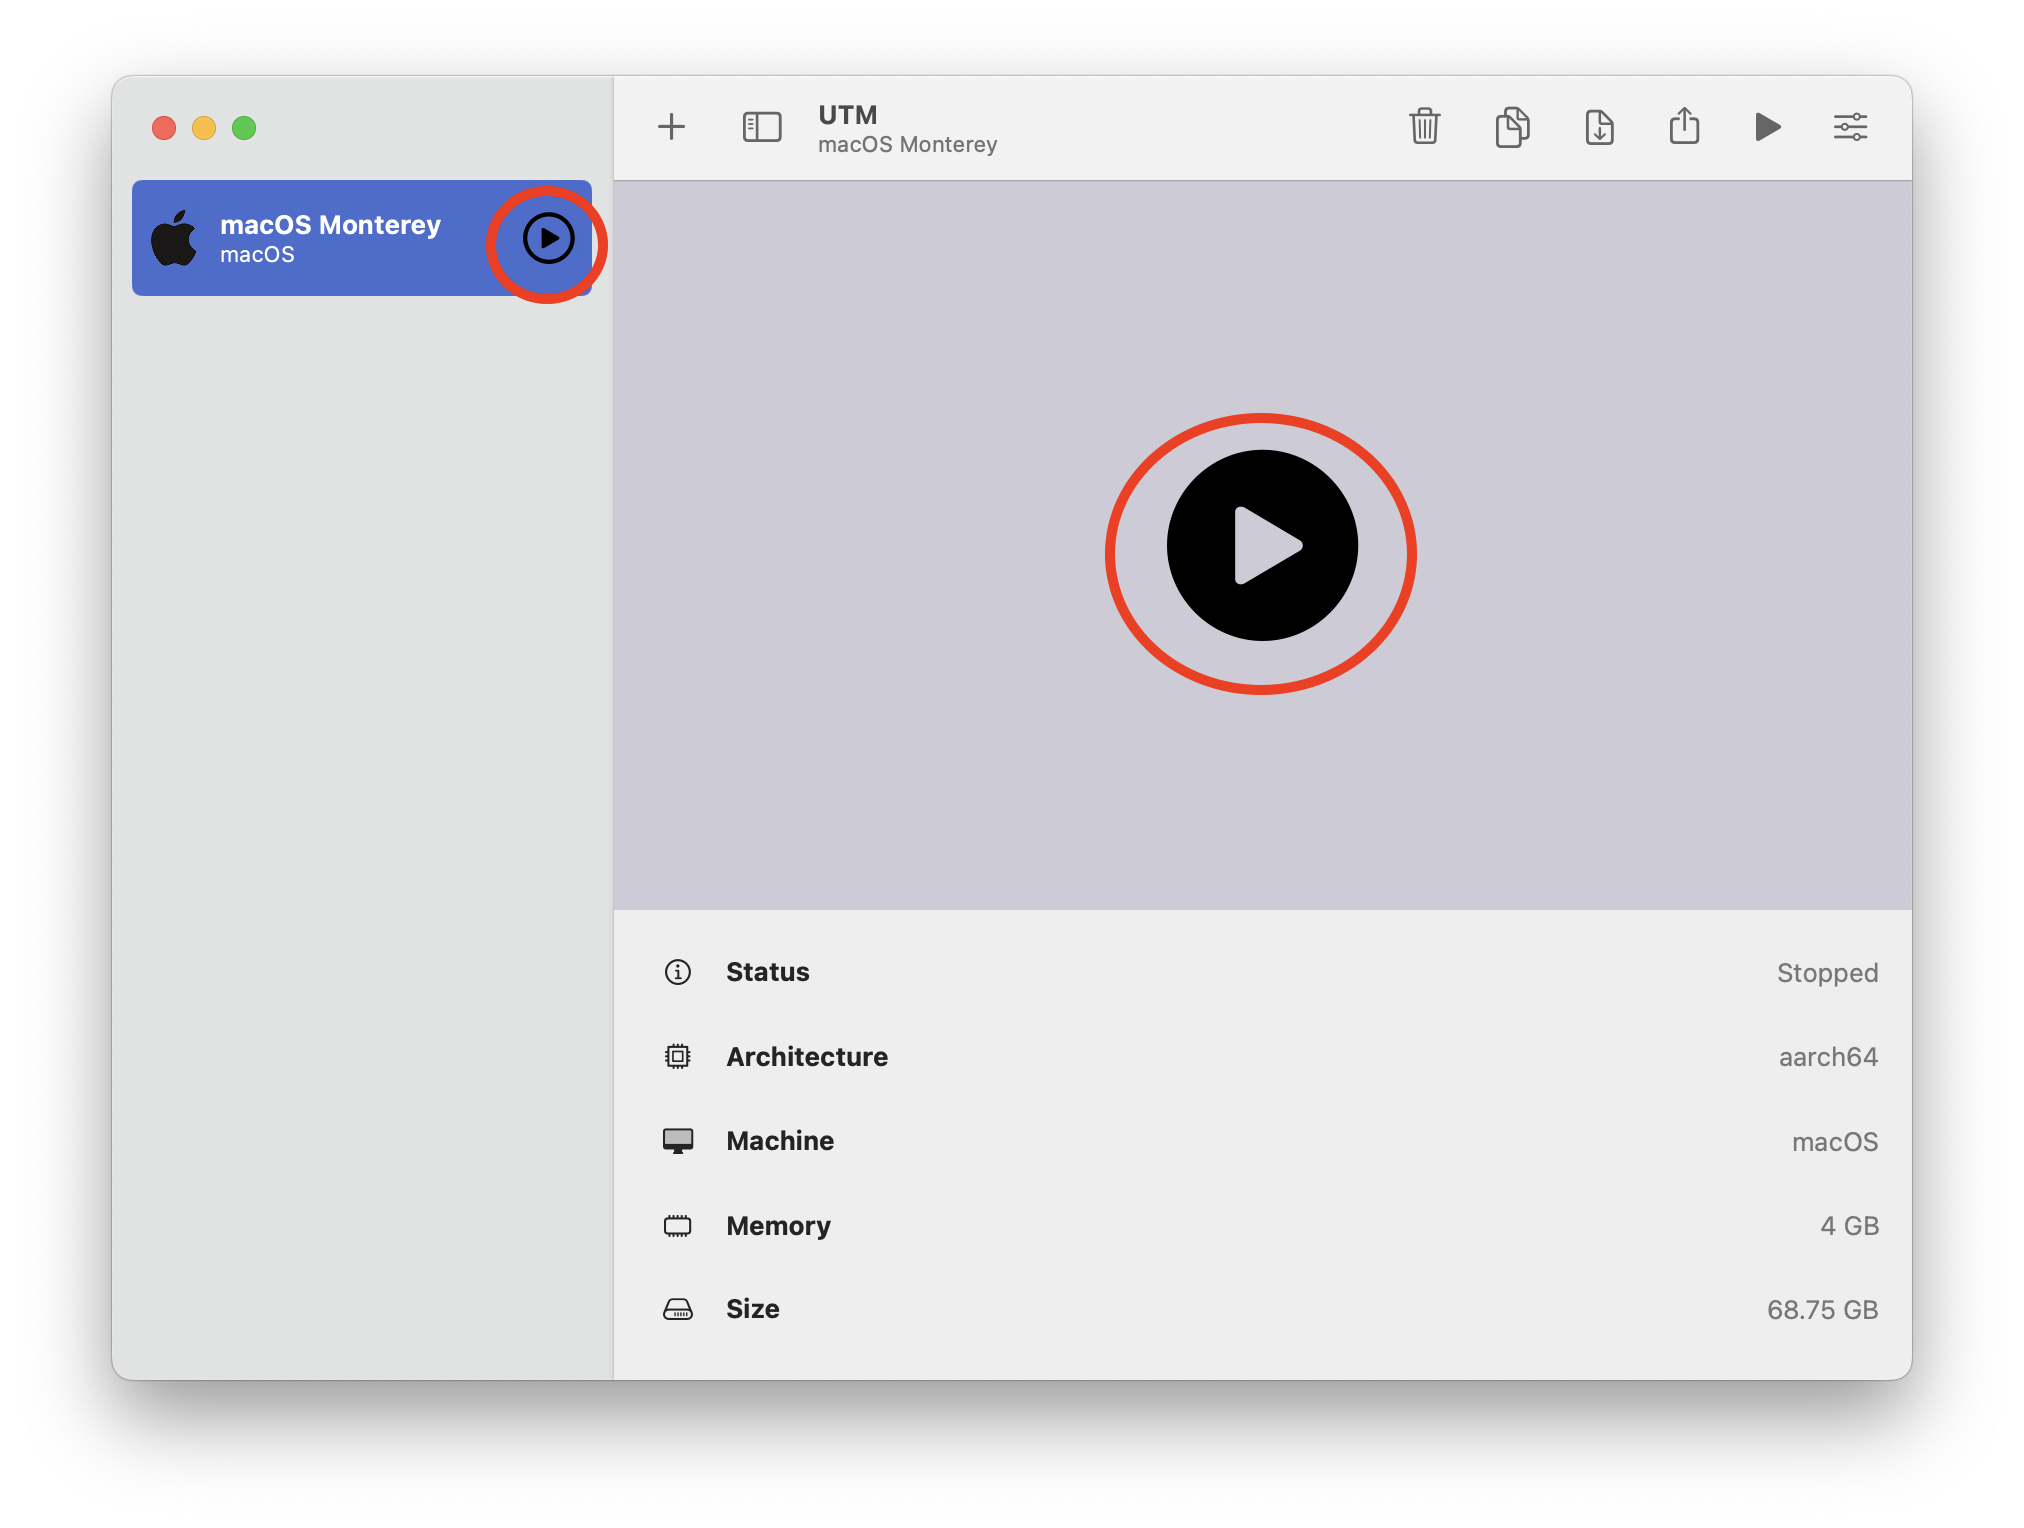
- Start your macOS VM after returning to UTM’s main screen by pressing the “Play” button either on the preview screen or the menu pane next to the VM you created.
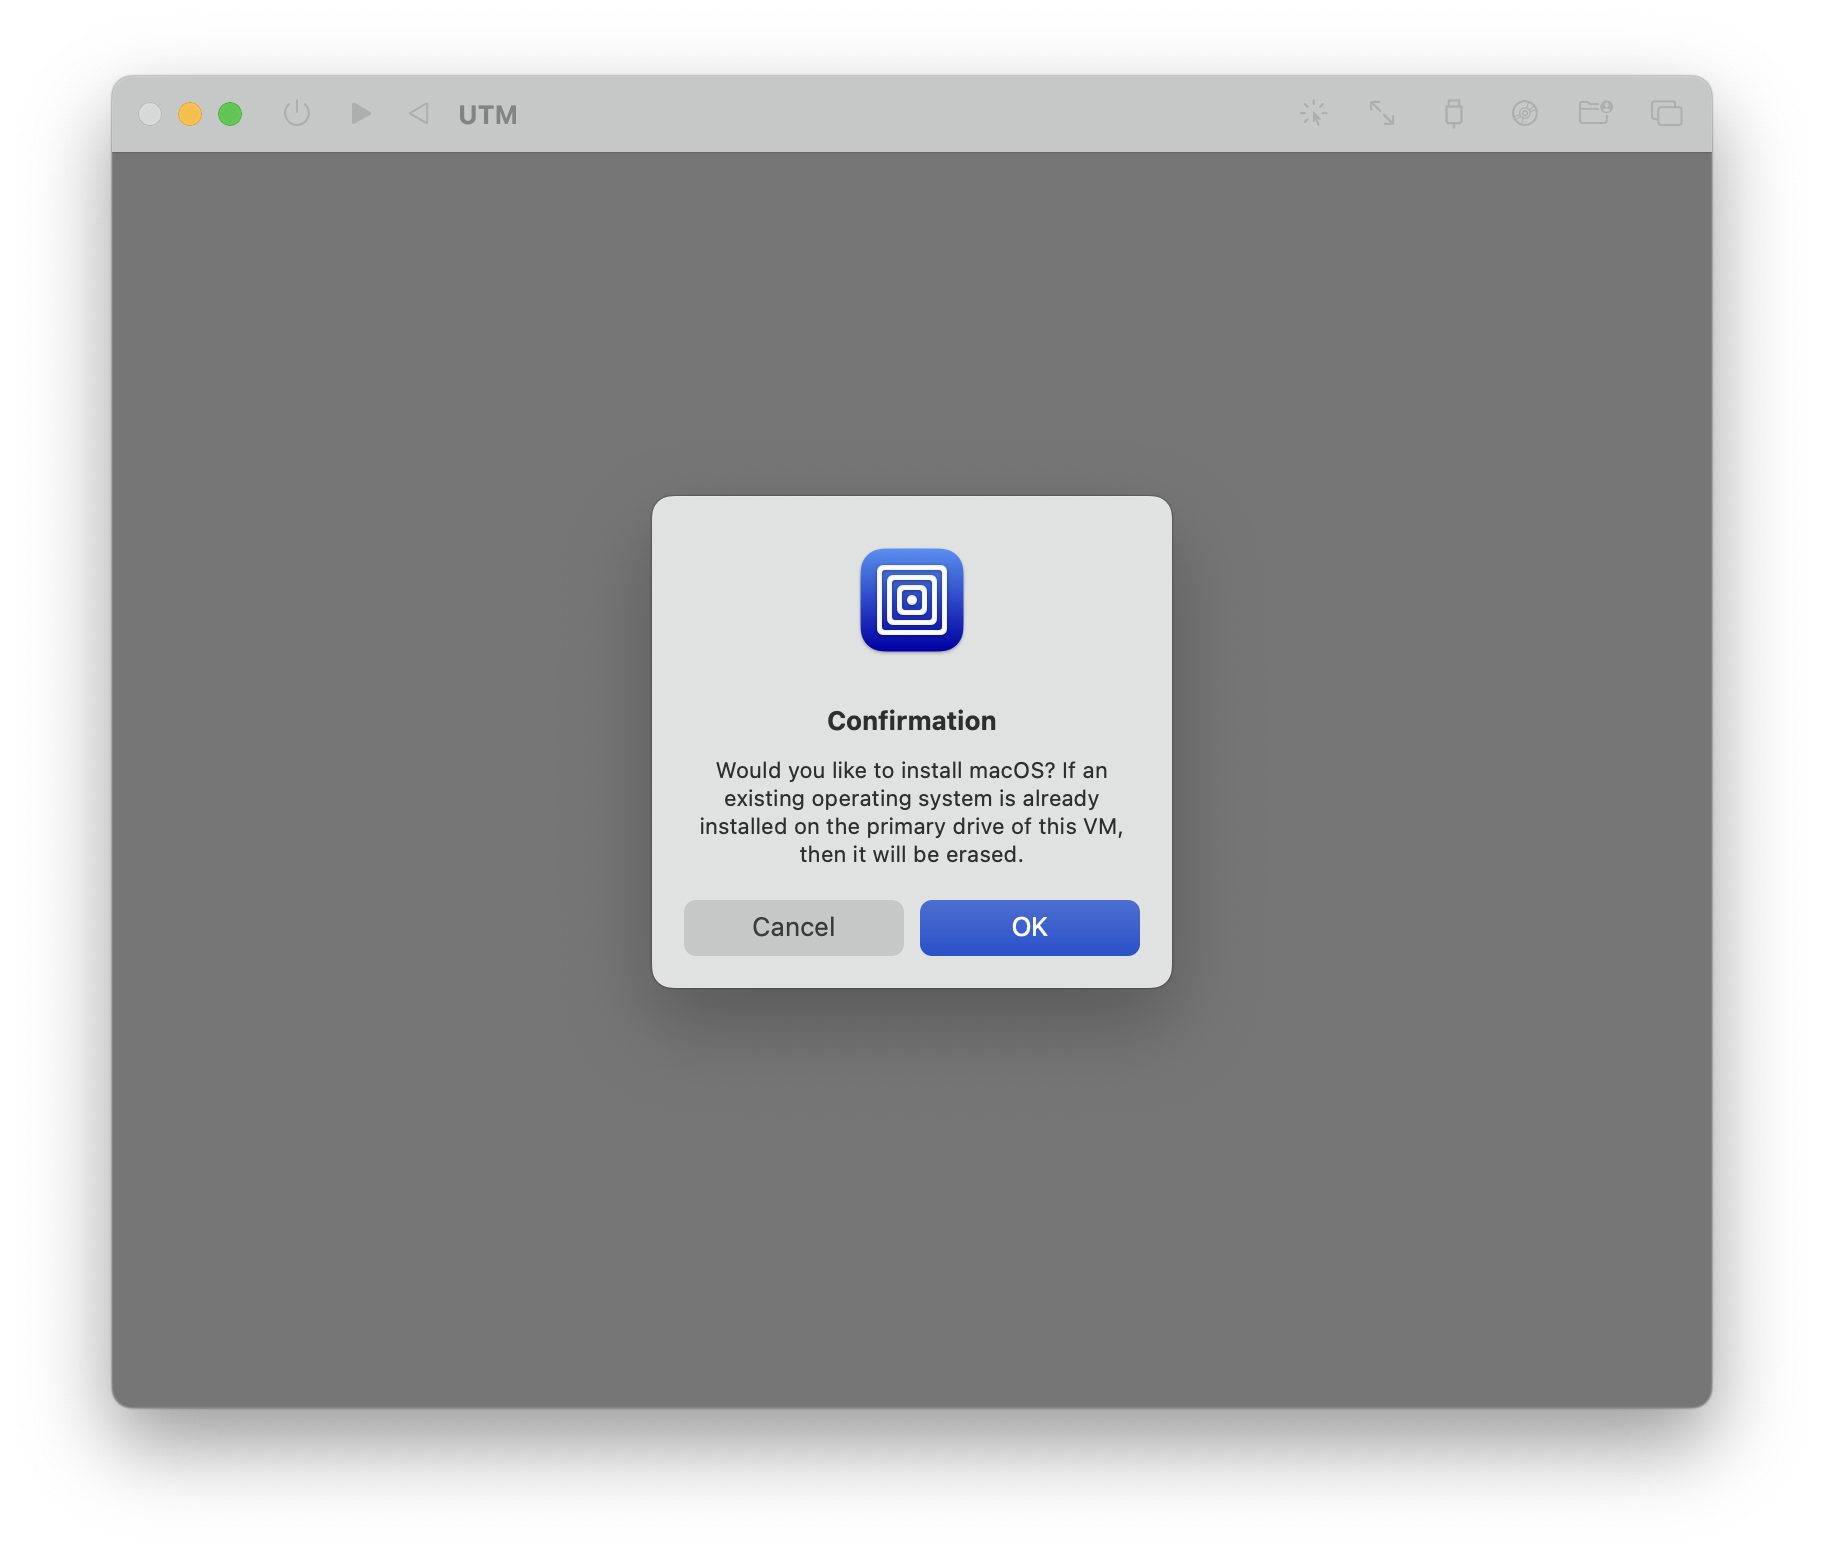
- Click OK to install macOS.
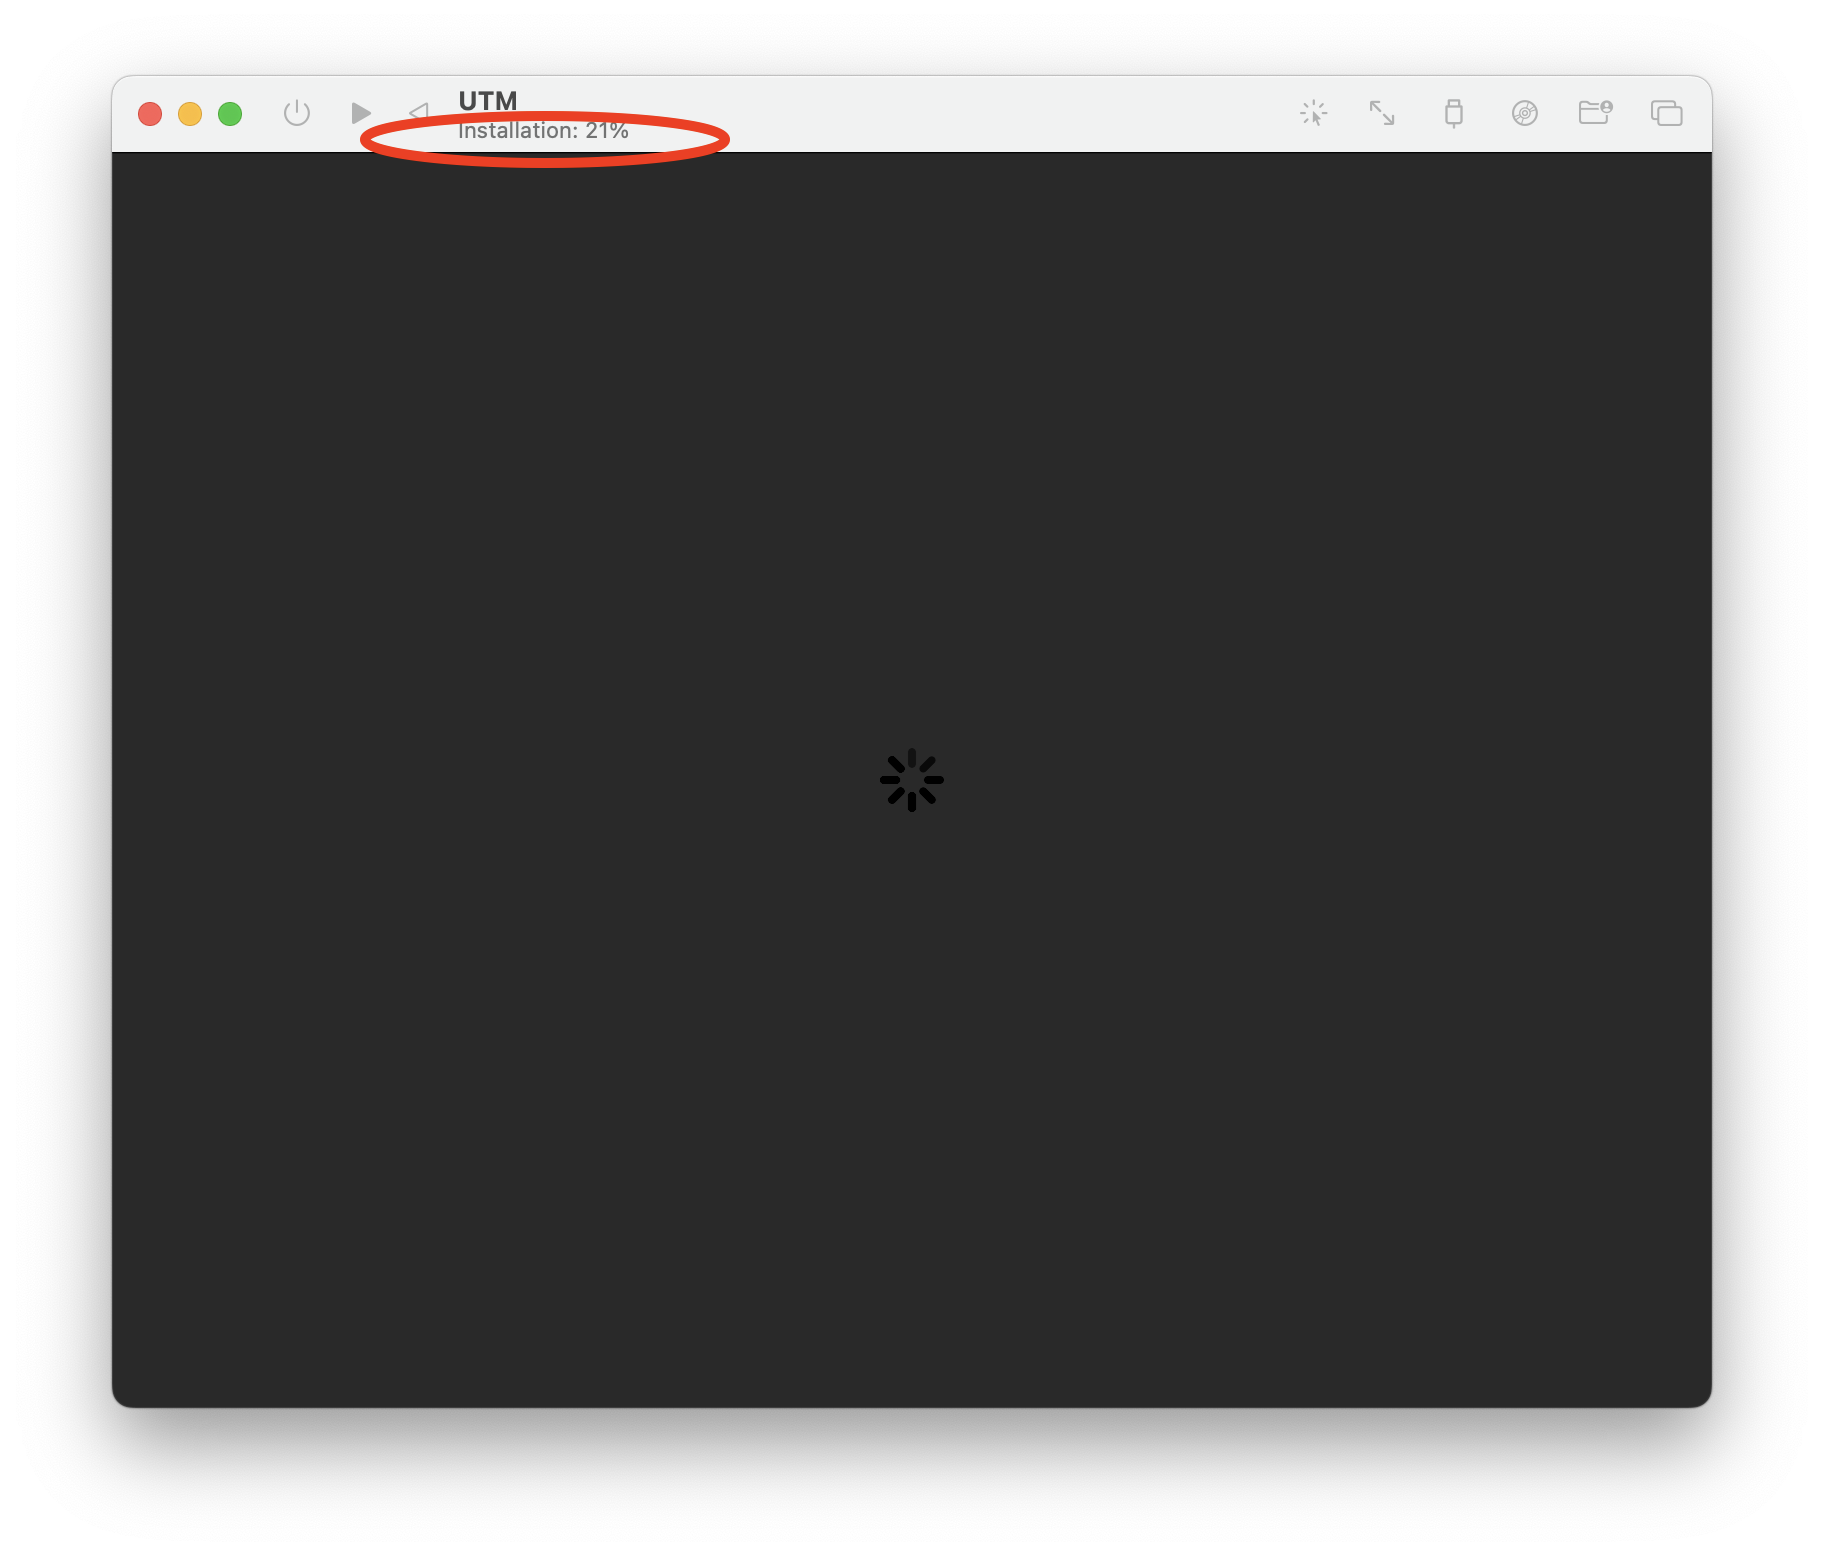
- Wait for the installation to complete. You can see the installation progress on the top part of the window under the UTM window title.
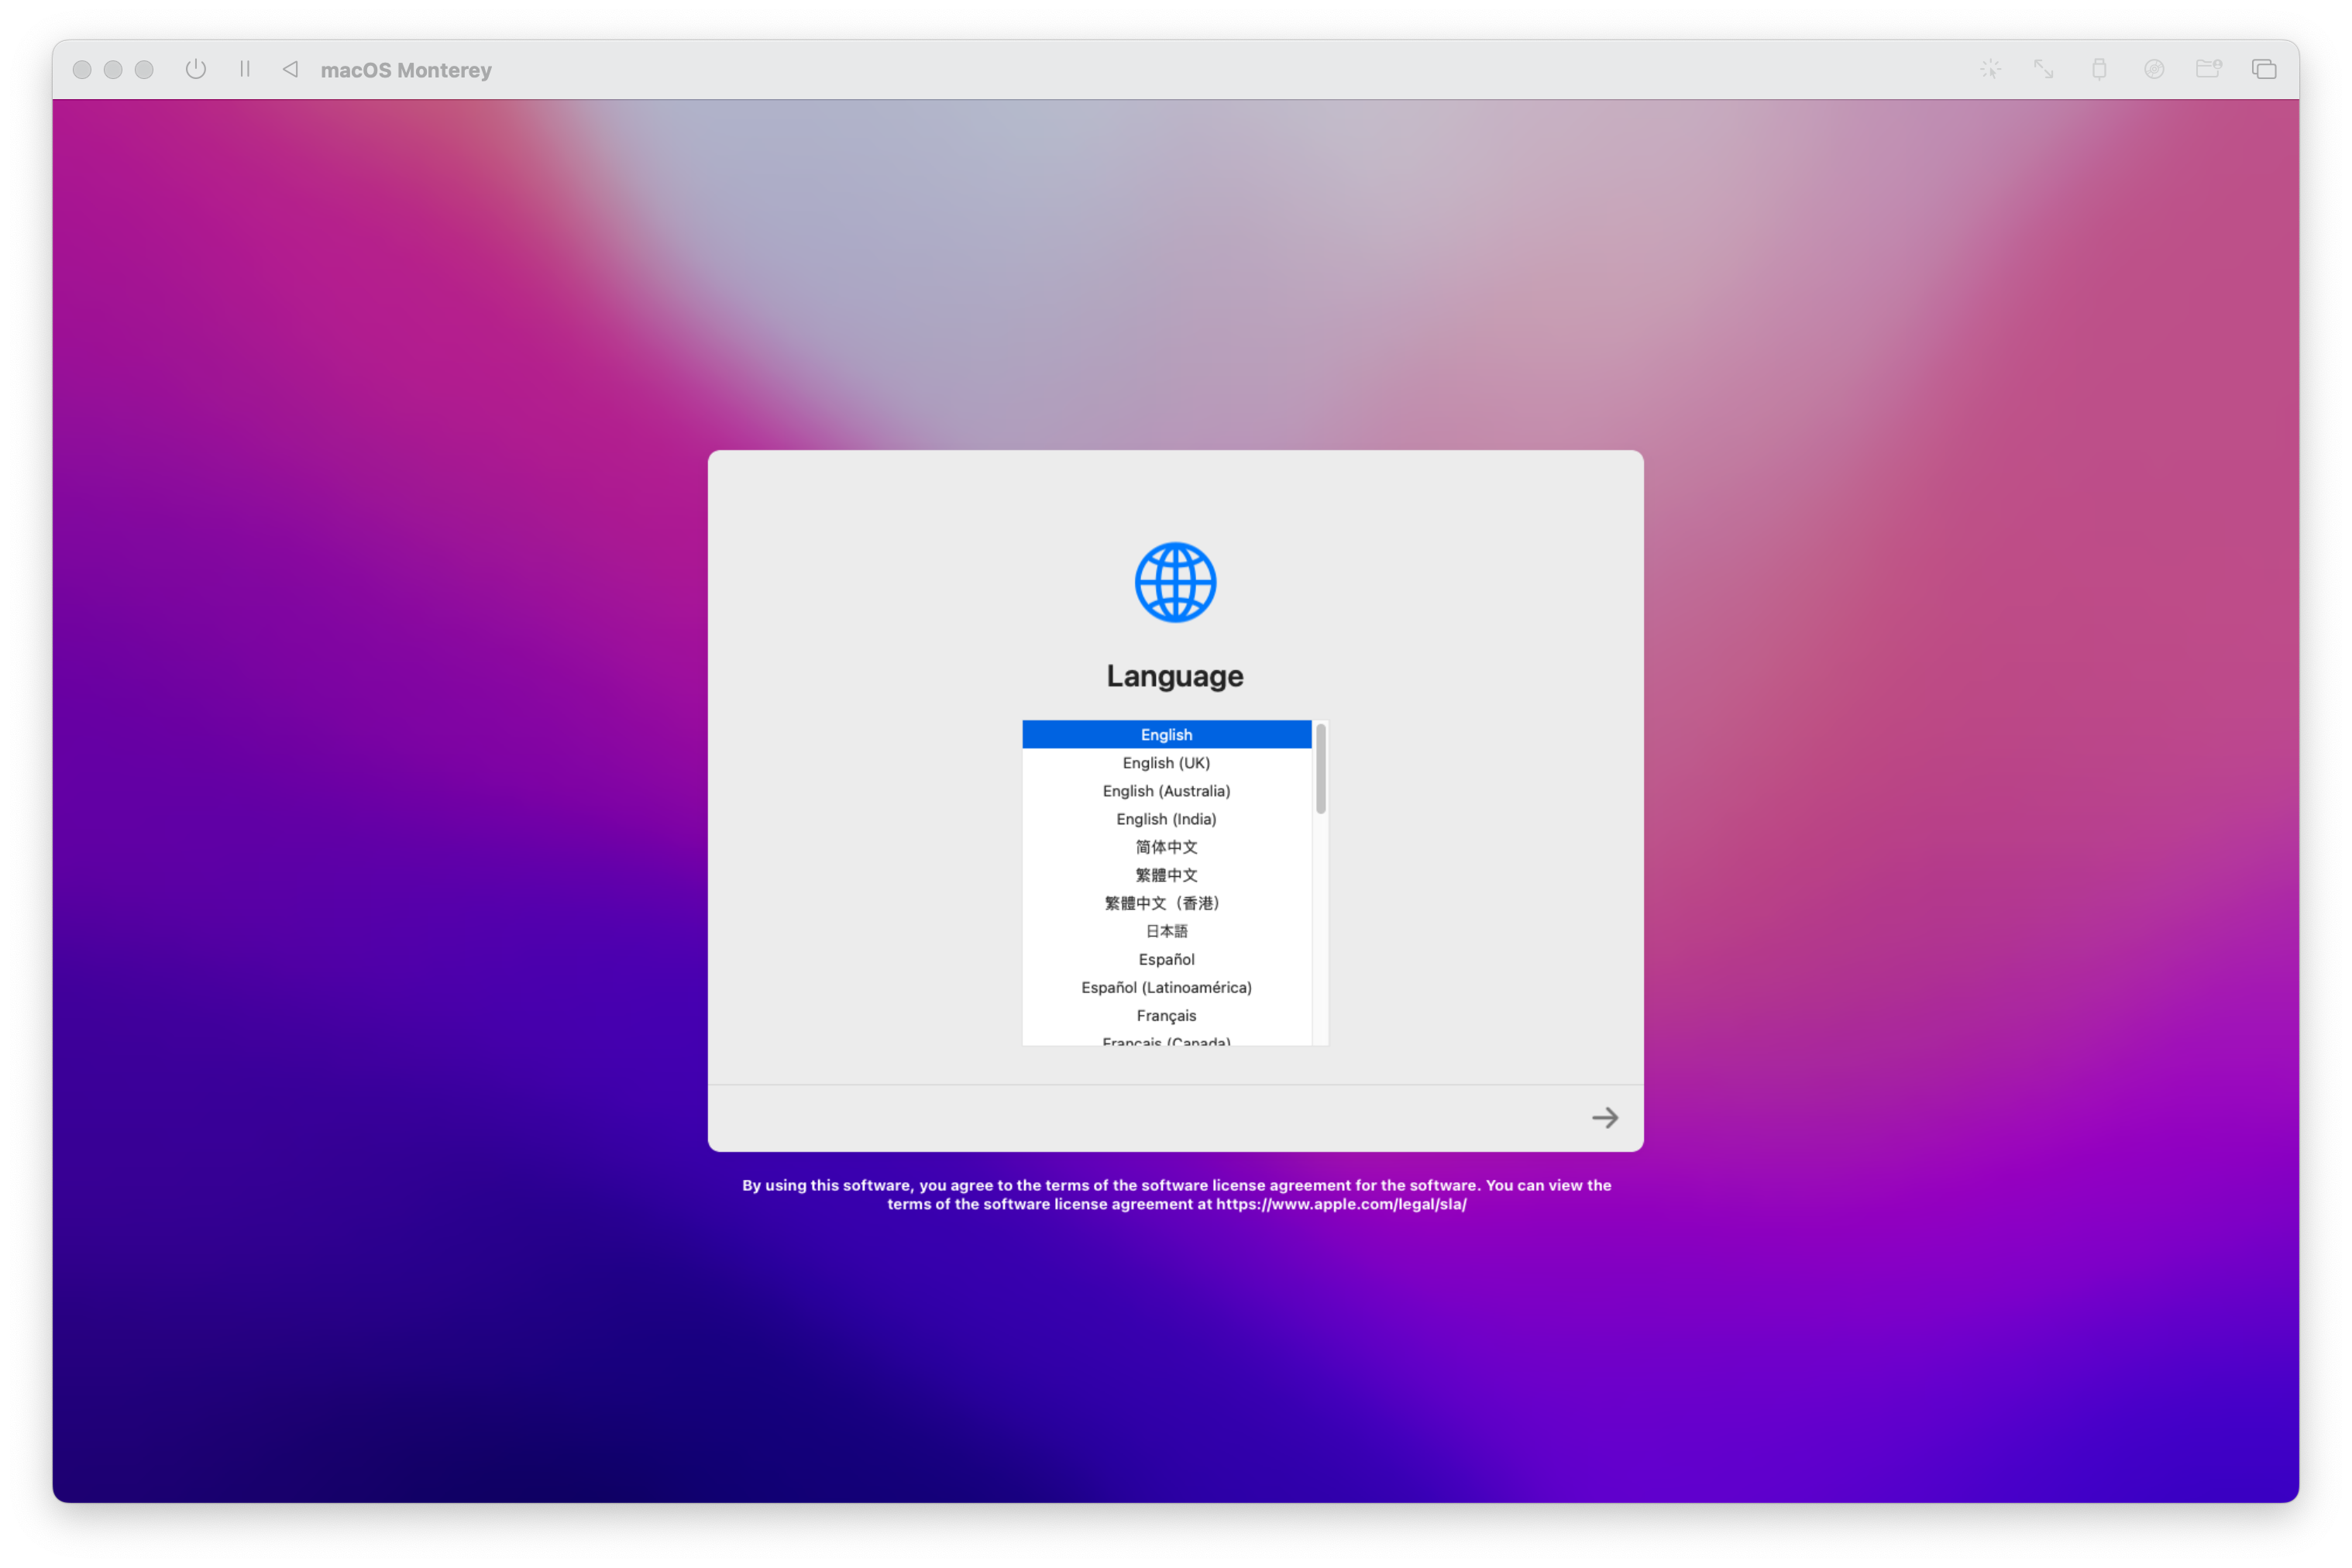
- Once the installation is complete, you should be greeted with a familiar screen. Congratulations, you have created your macOS VM! Proceed through the setup as you normally would with a physical device.
Caveats:
- You can’t setup your Apple ID on the VM. Currently, Apple’s Virtualization Framework does not support this
- Snapshots are not possible